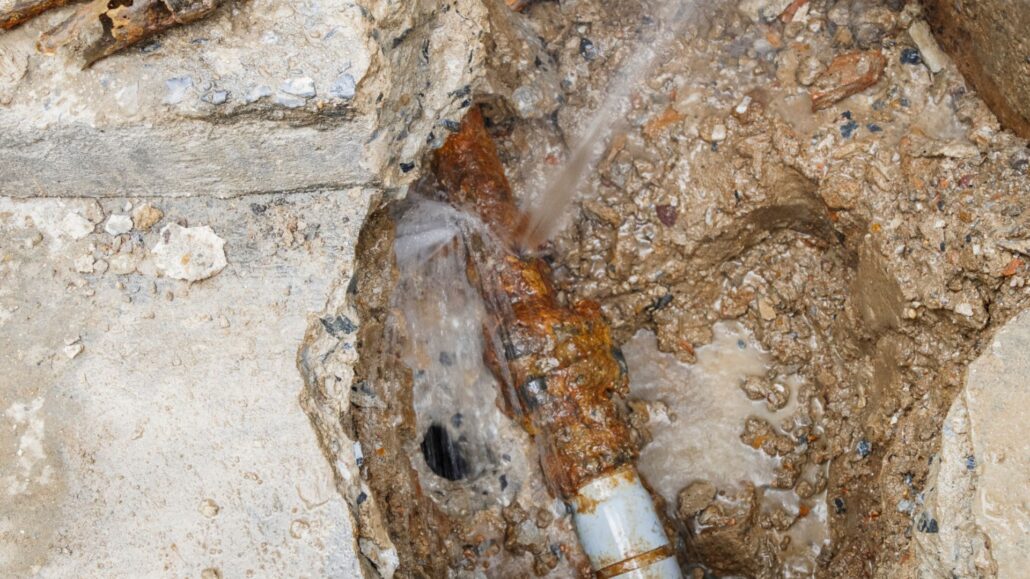
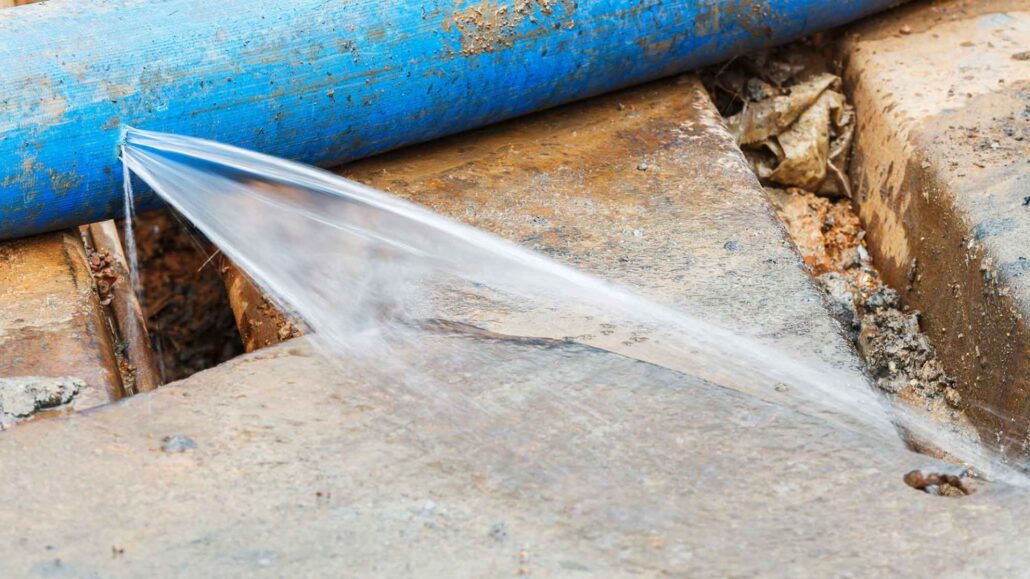
When the dreaded burst pipe occurs, it raises many questions. The most pressing is, “Can you repair a burst pipe DIY?” The answer is not always straightforward. The complexity of the repair often depends on the extent of the damage and your level of handymanship. This comprehensive guide will explore what it takes to tackle burst pipes independently and when it’s best to call in the professionals.
When faced with damaged pipes, homeowners may find themselves in a situation that demands immediate attention. The consequences of inaction are too great, as water from a burst pipe can quickly escalate into a full-blown plumbing disaster. Whether it’s a minor leak or a major burst, the integrity of your entire plumbing system can be at stake. This is why knowing how to prevent pipes from bursting and addressing plumbing problems promptly is essential.
For minor leaks, shut off the main water supply to stop excess water flow. Then, use a wet/dry vacuum to remove the remaining water from the affected area. For burst main pipes, shutting off the main supply is still the first step to prevent further flooding. Attempt a permanent fix by cutting out the damaged section and replacing it with a new pipe section joined in the same direction as the existing pipes.
Along with this, understanding the role of the main water supply in controlling the situation is crucial. It is the lifeline of your home’s plumbing system, and knowing where it is and how to shut it off can mean the difference between a manageable repair and a costly renovation. In the following sections, we’ll explore the steps for DIY pipe repair, discuss when professional intervention is required, and offer tips on preventing future plumbing woes.
Understanding The Risks Of Burst Pipes And Repair

Immediate Water Damage
When a burst water pipe occurs, the risk of water damage is immediate and substantial. Within minutes, water can permeate through flooring, soak into the drywall, and compromise the structural integrity of your home. The risk extends far beyond the physical damage; moisture trapped within walls and under floors can foster the growth of mould, which can have severe implications for indoor air quality and health.
The Importance of Proper Installation
The challenge of addressing a burst pipe is managing the initial outflow and ensuring that repairs are properly installed to withstand future water pressure fluctuations. An adequately installed repair will seal against high water pressure, preventing recurrent leaks or bursts. Conversely, a makeshift or improper repair could fail, often at the most inopportune time, leading to a repeat of the water damage or, potentially, even worse consequences.
Assessing Your DIY Capabilities
Before committing to a DIY repair, it is crucial to assess whether you possess the necessary tools, such as tubing cutters, emery cloth, soldering equipment (if working with copper pipes), and the knowledge to use them correctly. Additionally, understanding how to diagnose and mitigate issues that could affect water pressure is critical to a long-term solution.
Material Compatibility and Longevity
The success of a DIY repair hinges on your ability to identify and adequately install the correct materials compatible with your existing plumbing. Mismatched materials can lead to corrosion or improper seals, which are likely to fail under the constant stress of water pressure.
Evaluating the Cost of DIY vs. Professional Help
While repairing a burst water pipe on your own may seem like a cost-saving measure, it is important to understand the risks involved fully. If the repair is not installed correctly, you could set the stage for further damage, which could be more costly. It’s essential to realistically evaluate your skills and resources before proceeding and to consider enlisting professional help if there’s any doubt about the situation’s complexity.
Step-by-Step Guide to Repairing a Burst Pipe

Not all burst pipes are created equal. Identifying whether you have P.V.C., copper, or another type of piping is crucial, as each material requires a different approach. Additionally, understand the nature of the burst – is it a clean break, a pinhole leak, or a series of small cracks? The type of burst will determine the repair method.
Gathering the necessary tools is the first step in preparing for your repair. You will need at least a pipe cutter, a pipe slice, and possibly a wire-fitting brush. Safety should not be overlooked – ensure you have gloves and eye protection before proceeding.
1. Shut Off the Water
Before attempting repair, shut off the water supply to prevent water damage. This may involve turning off the main valve.
2. Drain the Affected Pipe
Allow the water inside the pipe to drain. This will minimise water flow when you start the repair.
3. Cut Out the Damaged Area
Using a pipe cutter, remove the damaged pipe section. Be precise and make clean cuts.
4. Prepare the Pipe
Clean the cut ends of the pipe with emery paper to ensure a smooth surface for joining.
5. Apply the Repair
A hose clamp and rubber gasket may work for a temporary fix. For a more permanent solution, use a repair sleeve or epoxy putty. Epoxy putty comes in two components that must be mixed to activate.
6. Test the Repair
Once the repair is in place, slowly turn the water back on and check for leaks. If there is no leaking, you’ve successfully managed to fix a burst pipe.
7. When to Call a Professional
If the burst pipe is part of a complex plumbing system or has caused significant water damage, it may be time to call a professional plumber. Any hesitation about the repair’s integrity should prompt you to seek expert assistance.
Preventing Future Bursts

Consider pipe insulation to prevent future burst pipes, especially in areas prone to freezing temperatures. Regular maintenance can help reduce high water pressure, often contributing to burst water pipes. Here are some tips:
- Insulate Pipes: Use insulation on exposed pipes.
- Keep Temperatures Steady: Maintain a consistent indoor temperature.
- Prompt Leak Repairs: Fix leaks as soon as they’re detected.
- Monitor Water Pressure: Keep water pressure within 40-60 psi.
- Regular Inspections: Have a plumber check your system periodically.
- Use a Water Softener: Install one if you have hard water to prevent mineral build-up.
- Install Pressure Relief Valve: This valve is used to manage high pressure in pipes automatically.
- Upgrade Pipes: Replace old pipes with modern materials like PEX or copper.
Sealing the Deal: Safeguarding Your Home Against Water Damage
While it’s possible to repair a burst water pipe DIY, it’s not without risks. Assessing the damage, having the necessary tools, and understanding the repair process are vital steps. Calling a professional is the prudent choice if you’re not confident in your ability to perform the repair or if water damage is extensive.
As a trusted plumber serving Brisbane, The Brisbane Plumbers have the expertise to handle any burst water pipe emergency or long-term plumbing system issue, big or small. Whether you need an urgent repair, drain cleaning, gas fitting or full bathroom renovation, our licensed plumbers can complete the job quickly and to high standards.
Contact The Brisbane Plumbers today to discuss your plumbing needs or to schedule an appointment. Your safety and satisfaction are their priority.
